Install
Add the package to a Unity 6.5 project, open the editor, create your first graph, and import the sample games.
On this page
Ten minutes from a project with no package to a graph open in the editor. Unity does most of the waiting.
What the project needs
Section titled “What the project needs”Unity 6.5 or later, official releases only. The package manifest sets 6000.5 as the minimum, and alpha or beta builds are outside the supported set.
The package is io.bitquirky.behavior. It pulls in Bit Quirky Graph, Burst, Collections, Mathematics, and Entities, all of which Unity resolves for you. Addressables stays optional: the package uses it when it is present and works without it. The exact declared versions sit on the compatibility page.
Install the package
Section titled “Install the package”-
Open your project and let any current import finish. A quiet console makes the next steps easier to read.
-
Add
io.bitquirky.behaviorthrough Window > Package Manager, or add it to the project manifest that your team already uses for Bit Quirky packages. If you received.unitypackagefiles instead, import the product package through Assets > Import Package > Custom Package. -
Wait for the import, then the generated code pass, then the C# compile. The package brings its own editor window and runtime, with validators that come online at the same time.
-
Check Window > Behavior & State > Behavior Tree Editor exists in the menu.
Keep the package coherent through Package Manager or the manifest. Copying individual files into Assets/ separates the editor, the runtime, the Graph dependency, and the generated code that ship as one unit.
Create your first graph
Section titled “Create your first graph”-
In the Project window, choose Assets > Create > Behavior & State > Behavior Tree. For modes instead of a plan, choose State Machine in the same menu.
-
Name the graph after the decision it owns, such as
GuardAdvance. The file is a.bqbehaviorgraph file, and it is the thing you edit and ship. -
Double click it. The editor opens in Static mode, which is authoring mode.
-
Click add root behavior on the empty canvas. The insertion picker opens, grouped by what each node does. Every node card has an insertion handle for adding children the same way.
-
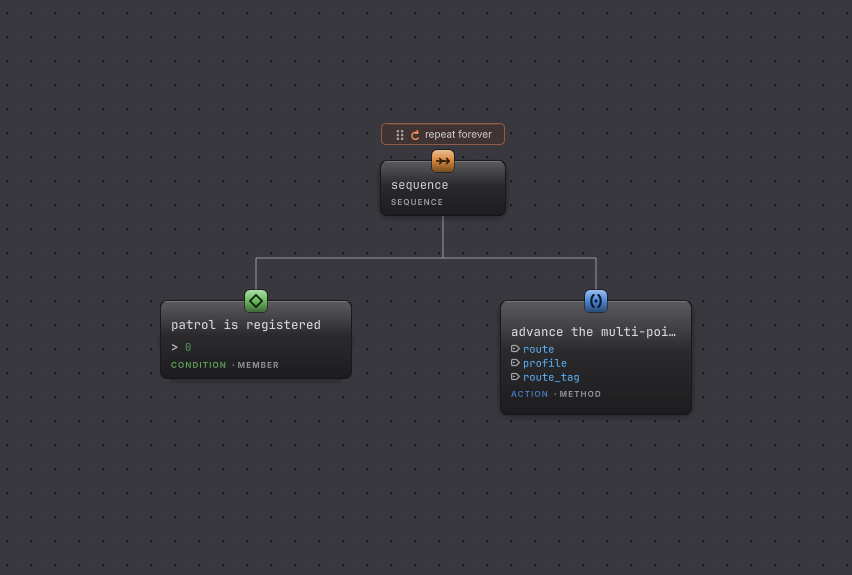
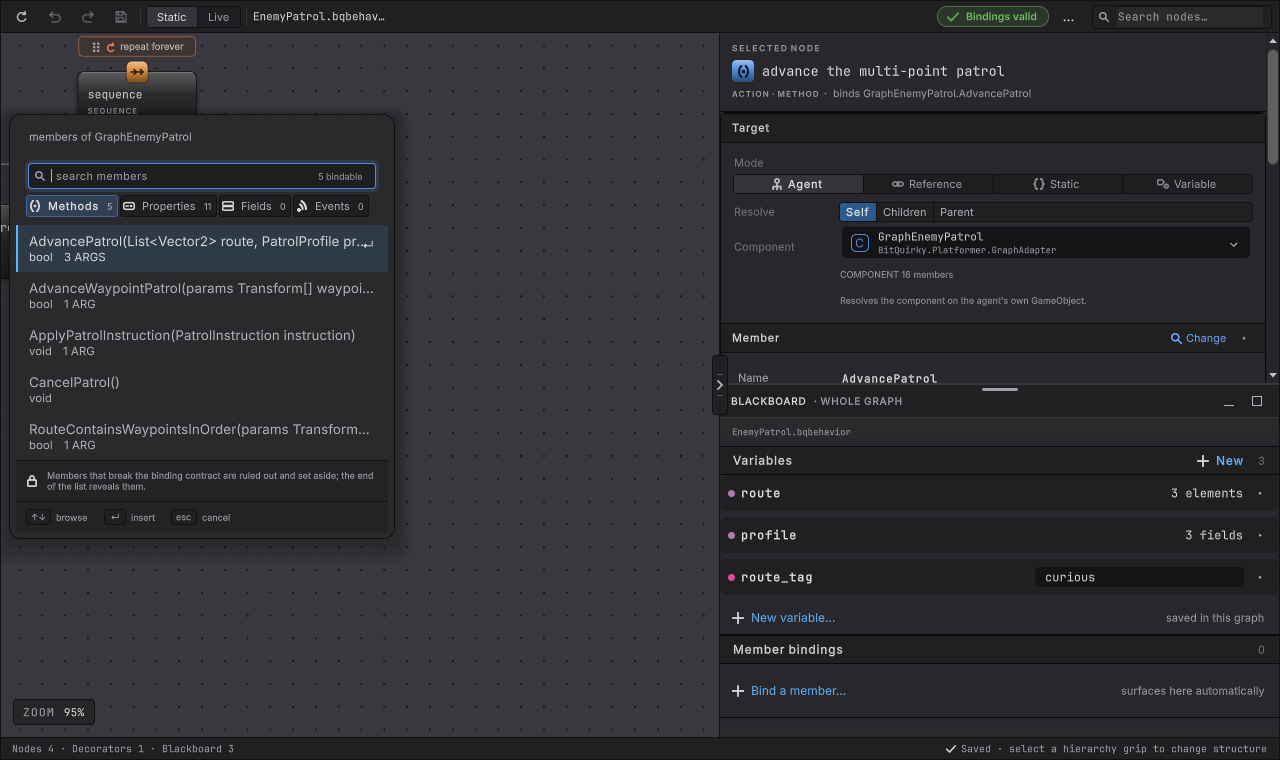
Add a node and select it, then read the right rail. Target, member, arguments and result all live there, and the validation strip at the foot of the canvas names anything still missing.
The right rail is where a node meets your code. Choosing a component type and then one exact member signature is the whole binding gesture.
Your first behavior tree takes this to a moving object in your own scene.
Add the sample games
Section titled “Add the sample games”The four games ship as their own imports, one per game, so a project takes only the sample it wants. Import a sample through Assets > Import Package > Custom Package, and its content lands under Assets/BitQuirky/BehaviorTreesAndStateMachines/Samples/.
Each game is playable and each one runs the graphs its chapter documents. Platformer is the one to open first: press Play, move with the arrow keys or A and D, jump with Space, and land on an enemy from above to stomp it. Then open EnemyPatrol.bqbehavior and read the graph that produced the walk you just watched.
The screenshots across this site come from those projects, where the sample folders sit at paths like Assets/Platformer/. The imported layout puts the same folders under the Samples/ path above.
Sample games has a chapter per game.
Where the code lives
Section titled “Where the code lives”The package ships the C# for its runtime and editor, under Runtime/ and Editor/ inside the package folder. You can read it, debug into it, and set a breakpoint while you work.
Reading it grants no extra rights. LICENSE.md inside the package is the authority on use, copying, modification, and distribution, and it does not change because the code is visible.
- Adapt your game: move your first real decision into a graph.
- Your first behavior tree: a guided result in one sitting.
- What you get: the full list of what arrived with the package.
- Compatibility and limitations: supported versions and the current edges.